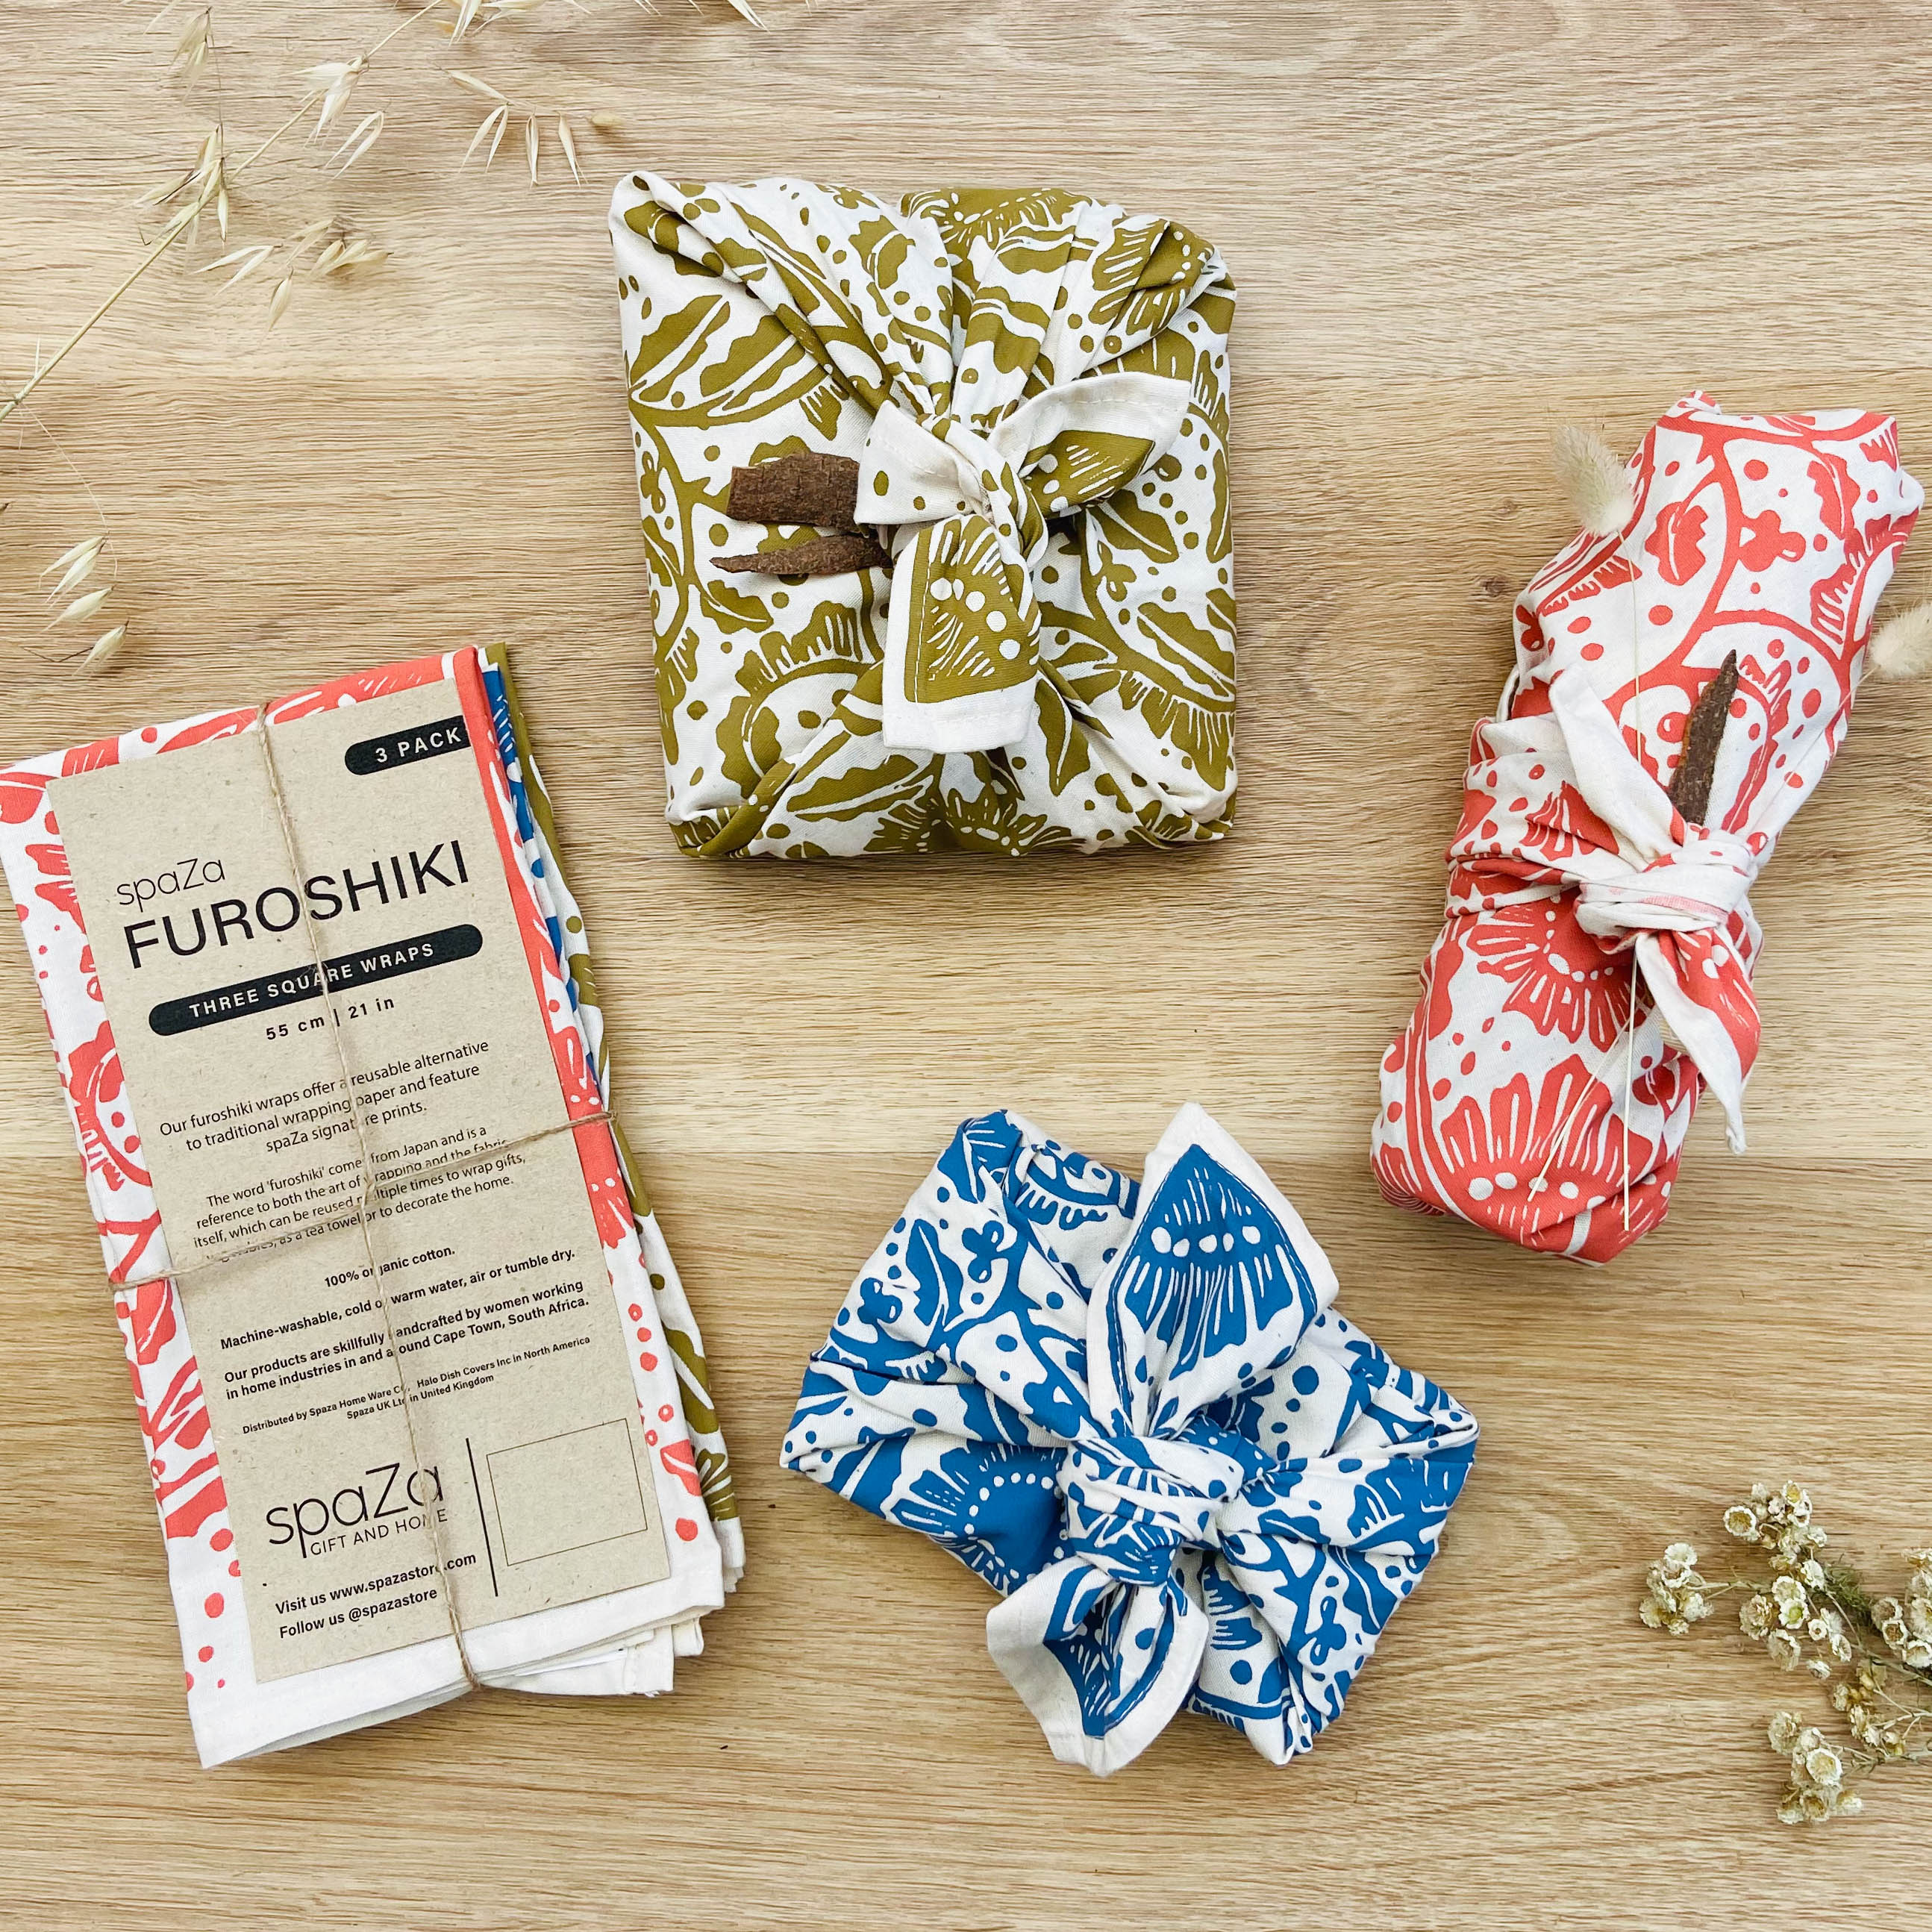
spaZa's definitive guide to furoshiki wrapping

Many of the most revered Japanese arts have emerged from a need for practical solutions to everyday problems. Furoshiki, the art of gift wrapping using cloth, is no different. The term, which literally translates to “bath (furo) spread (shiki)” was first used during the Nara period (710-794) as a means to protect valuable goods. Furoshiki has since evolved into a popular practice around the world, with people using the cloths to not only wrap gifts but also to carry bottles, hold vegetables and even as table settings.
I was first introduced to the art of cloth wrapping last year while researching how to limit waste during Christmas celebrations. The thought of giving someone a gift in reusable fabric captured my mind and I vowed that this year, I would learn how to fold furoshiki multiple ways, which brings me to the topic of this blog.
Furoshiki can be applied to just about any object, large or small, and uses a series of simple knots and folds to create a wrapping that looks like art itself. The Japanese Ministry of the Environment has issued a handy pamphlet for reference but here, I’ll be detailing five of my favorite wrapping techniques, perfect for no-waste gift wrapping this holiday season.
The Basic Wrap

- Place your object at the center of the furoshiki.
- Take two opposite corners of the square and tie them into a knot in the center. If the ends are long, you can tuck them in.
- Take the two opposite corners and knot them just above the first knot.
The Card Wrap

- Place the card in the center of the cloth.
- Fold two corners over the card to create a point on one side of the card.
- Next, fold the sides in on a straight line as if you were forming an envelope.
- Fold the bottom end of the triangle over to create the bottom of the envelope and finish by tucking in the point. You can secure the wrap with some twine or ribbon, if preferred.
The Carry Wrap

- Place your objects in the center of the cloth.
- Gather two corners of the fabric along the same end, rather than the opposing sides, and knot them together.
- Repeat on the other side to create an open shopping bag-style pouch.
The Bottle Wrap
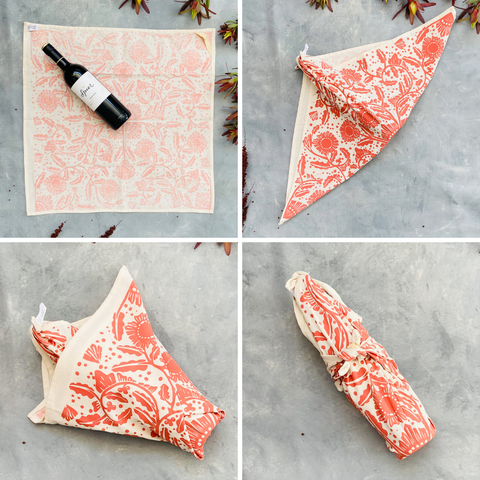
- Place the bottle in the center of the cloth.
- Bring one corner up and place over the bottle head.
- Bring the opposite corner up and place the over bottle head.
- Bring both opposing corner towards the bottle, cross over behind the bottle neck and knot at the front of the bottle.
Hidden Knot Wrap

- Place your object at the center of the wrap.
- Bring one corner over the object.
- Bring the opposite corner over the object.
- Bring the two remaining corners to the center of the object and knot.
- Bring the flap you created in step 3 up over the knot and secure underneath the object. You can use string or twine to secure, if needed.
And there you have it! Using elegant, decorative cloth, you can not only make gifts look beautiful but also gift a loved one with a reusable furoshiki that they can use for years to come.
Read more

The spaZa guide on how to green your Halloween
Halloween is one of the most adored holidays of the year and with good reason. It’s an excuse to let your hair down, adorn yourself in crazy costumes, watch horror movies all night and consume copi...
Read more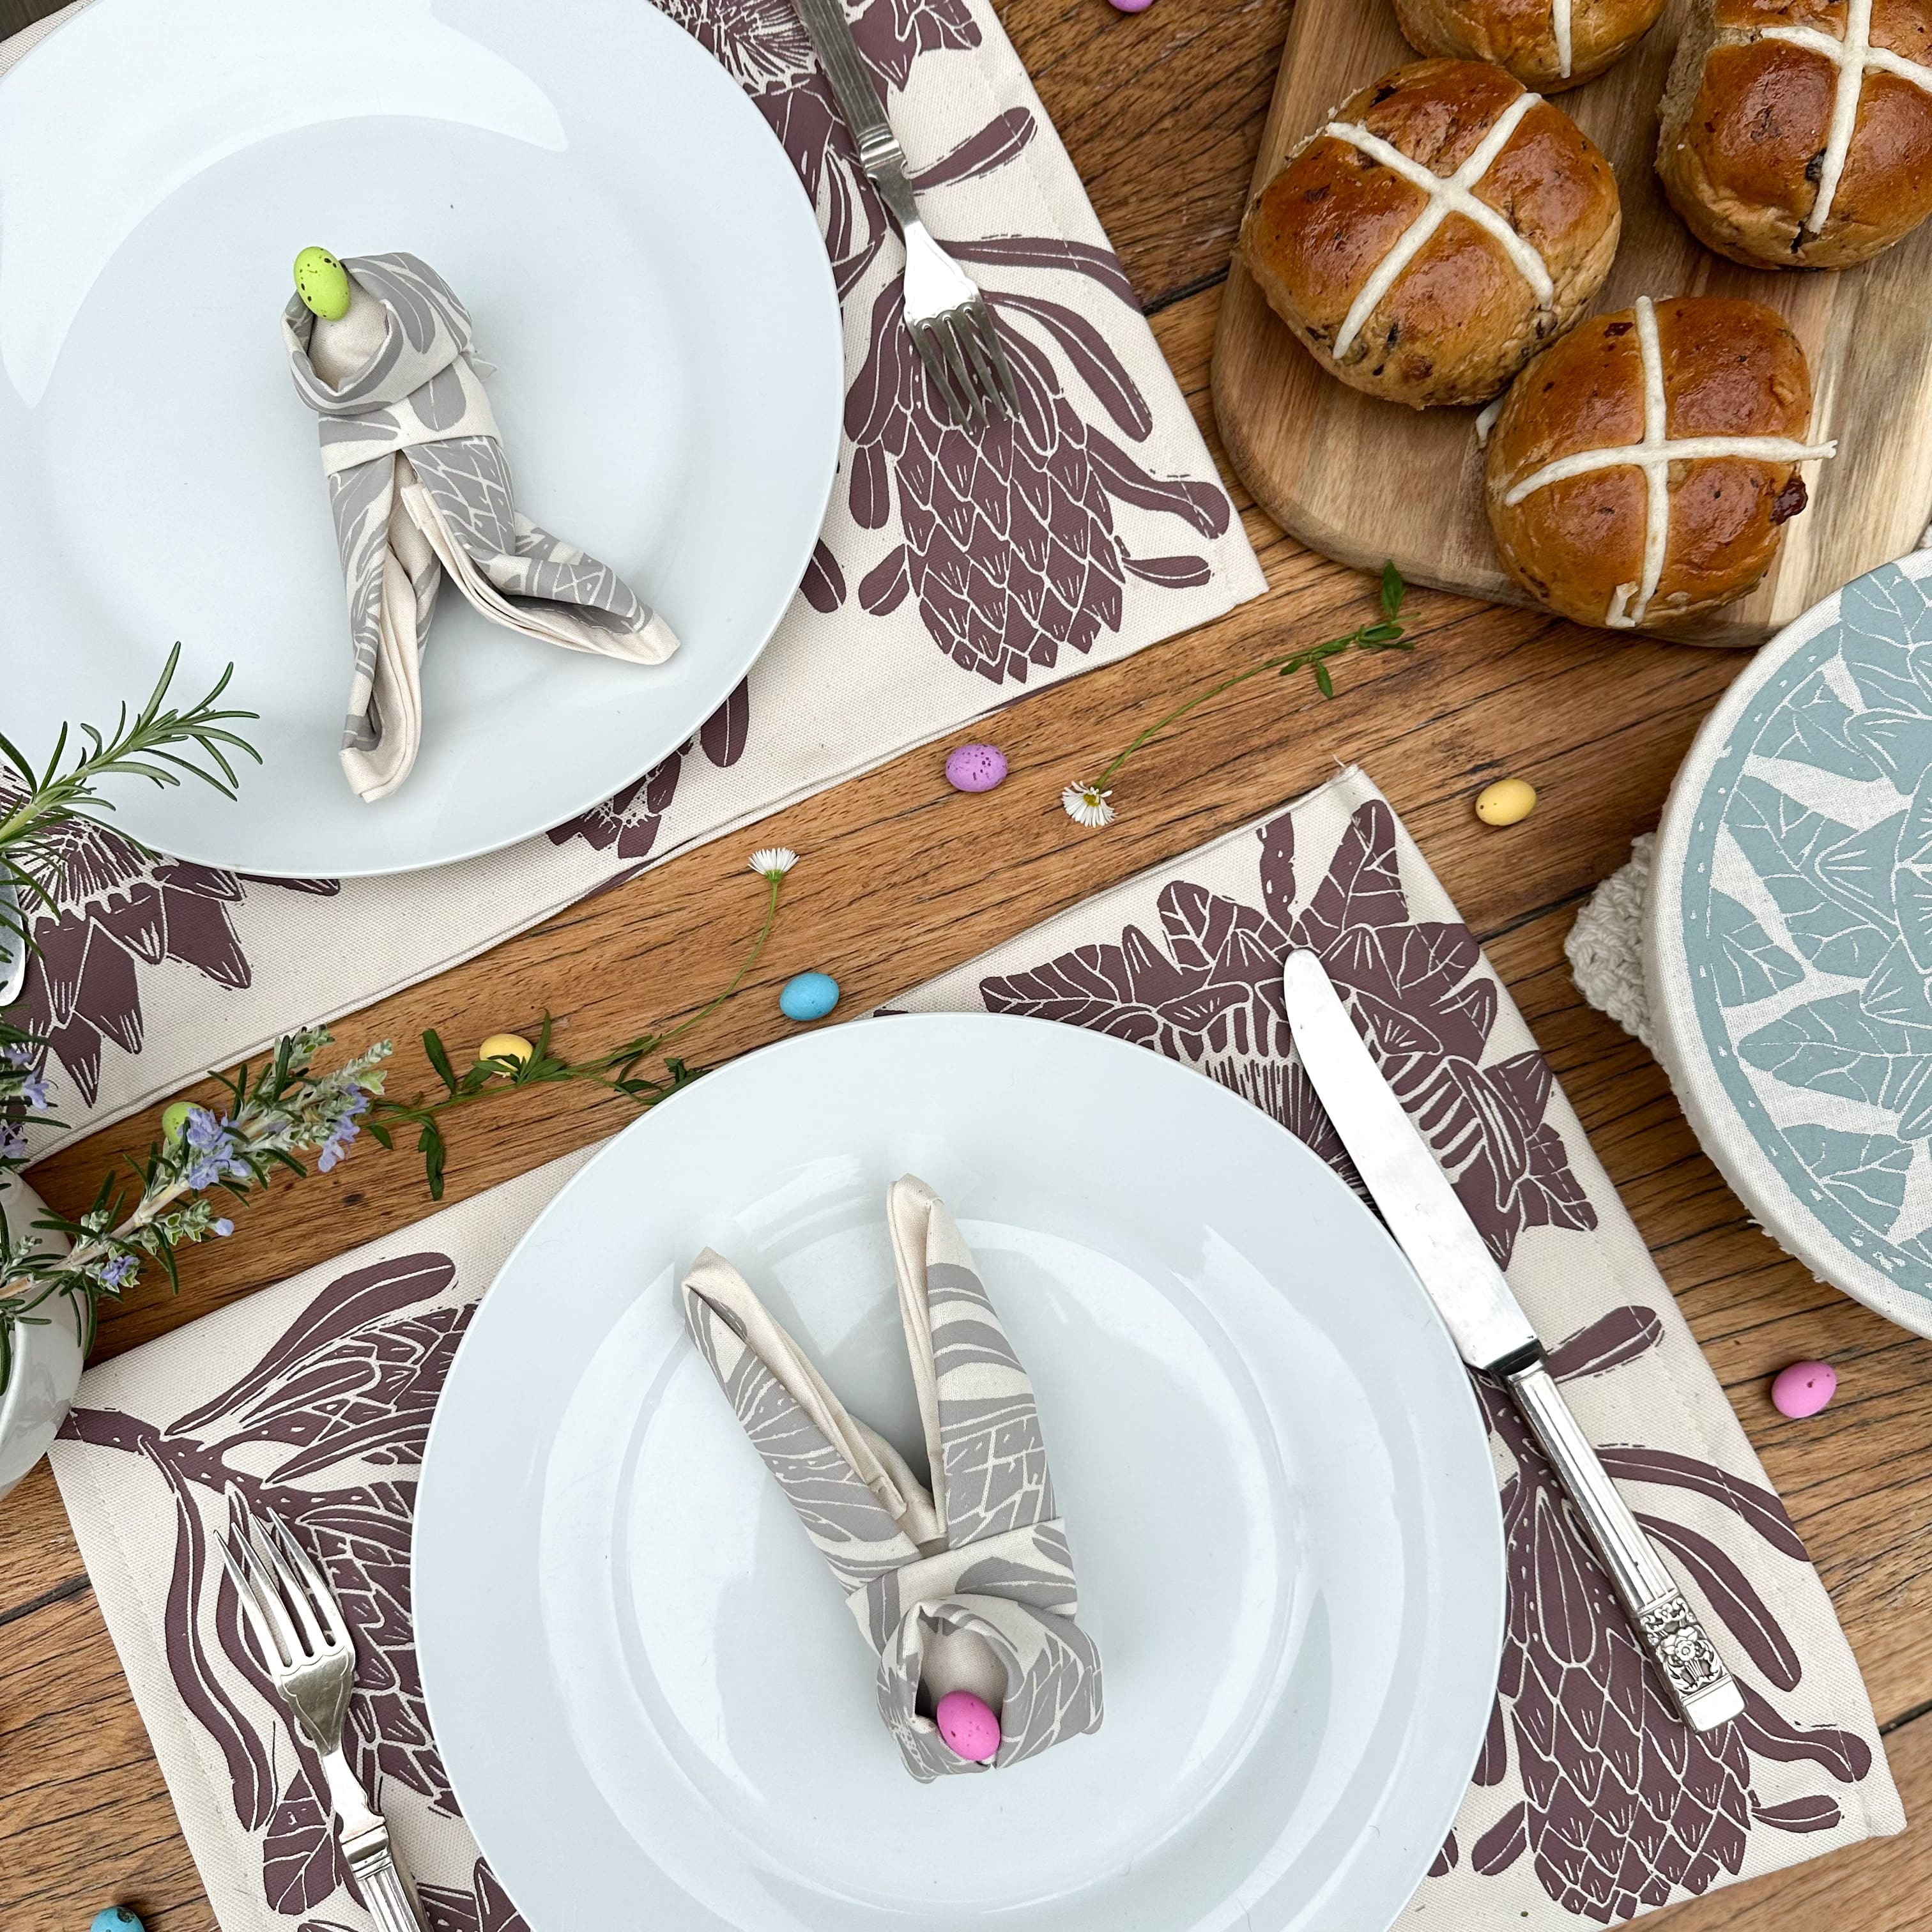
Fold your way to an adorable Easter tablescape with Bunny-shaped Napkins!
Hop into the Easter spirit with our playful napkin-folding project! In just a few simple steps, you can transform our beautiful 100% cotton napkins into sturdy bunny shapes that will delight your ...
Read more


